
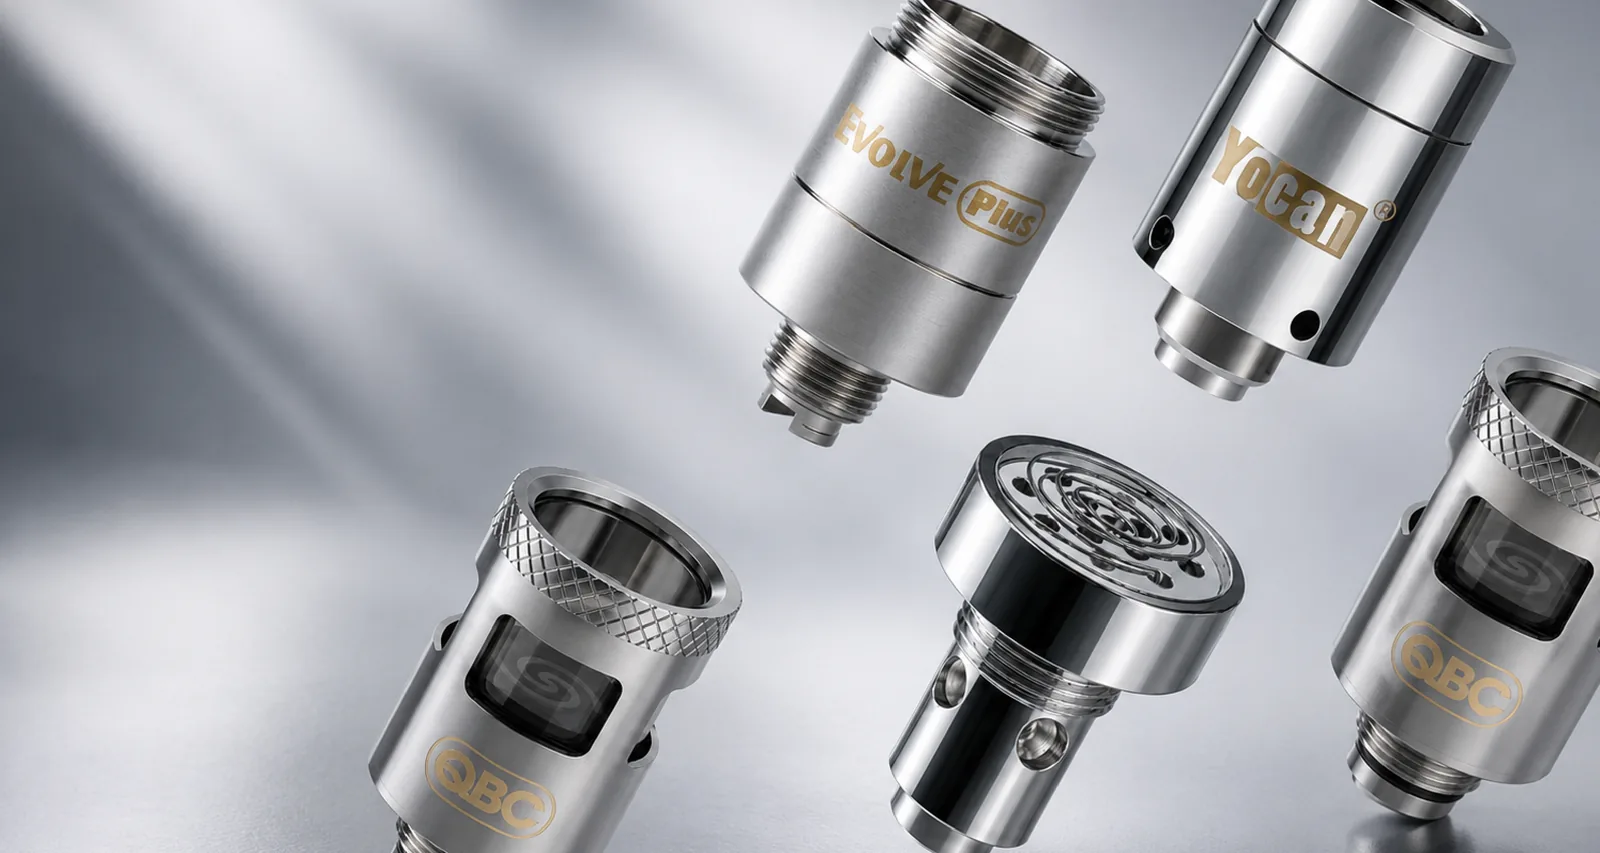
Coils are consumable heating parts, not permanent components. Cleaning can remove residue and restore airflow, but it cannot reverse a cracked ceramic cup, deformed wire, damaged seal, or worn heating element. The goal is consistent light maintenance, not forcing an exhausted coil to continue indefinitely.
Gather the right tools
Let the device cool completely and disconnect it from charging. Work over a clean surface with cotton swabs, lint-free wipes, and the product manual. If the manual explicitly permits isopropyl alcohol on a removable non-electronic part, use only a small amount in a ventilated area and allow complete evaporation.
Avoid knives, needles, metal picks, household cleaners, compressed propellants, and pouring liquid into an assembly. Sharp tools can crack ceramic or bridge electrical contacts.
Disassemble only as the manual allows
Turn the battery off and separate the mouthpiece, atomizer tube, cap, and coil in the order shown for the model. Never twist against resistance while the part is warm; residue can act like adhesive and threads can strip.
Keep track of seals and small caps. If an O-ring is torn, swollen, or missing, replace it rather than reassembling a leaking device. Do not open the battery enclosure.
Remove loose residue first
Use a dry swab or wipe to remove material from the mouthpiece, walls, and accessible cup surfaces. Work gently around exposed quartz rods, ceramic, or wire. Do not press hard enough to move the heating element.
Clean threaded contacts separately. Residue between the coil base and battery can cause blinking, unstable resistance, or a no-atomizer message even when the heating chamber looks clean.
Use liquid sparingly and selectively
Only apply alcohol where the manufacturer permits it. Lightly dampen a swab instead of soaking the component by default. Keep liquid away from batteries, charge ports, screens, magnetic chambers, and assembled atomizers.
Some removable glass or metal mouthpieces may tolerate more thorough cleaning than the coil itself. Treat each material and component separately. After cleaning, place parts on a lint-free surface until no liquid or alcohol smell remains.
Why dry firing is risky
Videos often recommend firing an empty coil until residue burns away. That approach can overheat quartz, crack ceramic, damage a wick, bake residue onto the element, and place unnecessary load on the battery. Unless the current manufacturer instructions explicitly describe a brief cleaning pulse for your exact coil, do not use repeated dry burns as routine maintenance.
If a short controlled pulse is manufacturer-approved, reassemble the required parts, use the lowest suitable setting, and stop immediately if the coil glows unevenly, smells abnormal, or the battery flashes a protection code.
Reassemble and test
Confirm that every component is fully dry. Reinstall the coil finger-tight, replace caps and seals, and reconnect the atomizer to the battery without overtightening. Turn the device on and perform a brief test at a conservative setting.
The device should heat consistently without immediate protection codes. If it blinks, turn it off and inspect the coil seating and contacts. If the coil produces a persistent burnt taste, uneven heating, or visible damage, replace it.
Habits that extend coil life
Use modest load sizes rather than packing material against the chamber walls. Avoid long continuous activations and allow cooling time between cycles. Keep the device upright when practical so warm residue does not run into the connection.
Clean light residue before it hardens. Wipe contacts during every deeper cleaning. Use the voltage or temperature range intended for the coil. Most importantly, match the exact replacement family; a coil that threads in is not necessarily electrically or dimensionally compatible.
When cleaning is no longer enough
Replace the coil when ceramic or quartz is chipped, wire is displaced, seals leak, resistance errors continue after reseating, or performance remains inconsistent after gentle cleaning. A coil that repeatedly shorts should not be tested again on multiple batteries.
Keep a spare compatible pack before the current coil fails. The coil compatibility chart identifies the family names used across common Yocan models, while the Canadian coil catalog and the live product strip below show replacement packs currently in stock.
Safe disposal and battery inspection
Let a spent coil cool, wipe away loose residue, and dispose of it according to local requirements. Inspect the battery connection before installing the replacement. If the battery contact is corroded, loose, or heat-damaged, a new coil will not correct the battery fault.
Regular cleaning protects airflow and contacts; timely replacement protects the battery and restores predictable operation. Both are normal parts of owning a replaceable-coil device.
Common questions
Can I soak a Yocan coil in isopropyl alcohol?
Do not assume every coil can be soaked. Construction varies, adhesives and seals may be present, and the current model manual takes priority. Never soak the battery or an assembled electronic component.
Can I dry-burn a Yocan coil clean?
Repeated dry firing can overheat or damage the element. Follow model-specific manufacturer instructions; gentle manual cleaning and timely replacement are safer defaults.
How long does a Yocan coil last?
There is no fixed lifespan. Load size, heat, material, cleaning, and coil design all matter. Replace it when cleaning no longer restores consistent heating or when it is visibly damaged.
Why does a clean coil still taste burnt?
The heating element or wick may already be damaged, or residue may remain where it cannot be safely removed. Install a genuine compatible replacement.