
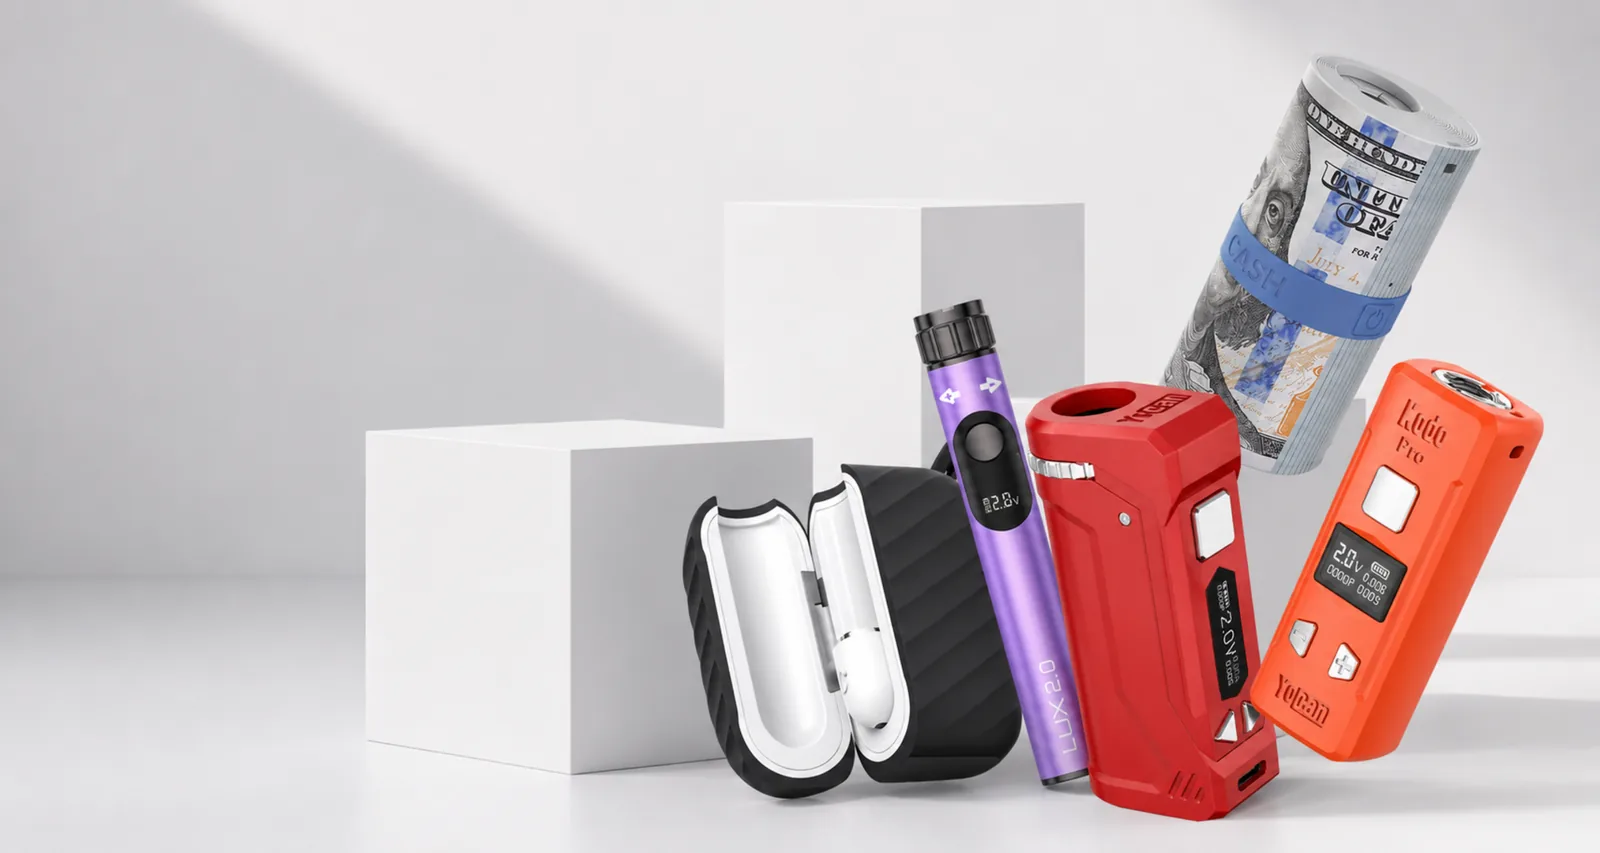
The Kodo Pro is a compact variable-voltage 510 battery with a screen. Its controls are simple once the basic click patterns and connection messages are clear. This guide is a practical companion to the manufacturer manual; the instructions supplied with your exact production version remain the final authority.
Kodo Pro at a glance
| Specification | Value |
|---|---|
| Battery capacity | 400 mAh |
| Voltage range | 1.8–4.2 V, adjustable in 0.1 V steps |
| Display | OLED with voltage, battery, and puff counter |
| Charging port | USB Type-C |
| Connection | Direct 510 thread |
| Power on/off | 5 rapid clicks of the main button |
Specifications are from Yocan's official Kodo Pro page; the leaflet in your box remains the authority for your production version.
Before first use
Inspect the battery and USB-C port for shipping damage. Charge it on a stable surface with the recommended cable and power source. Disconnect it once the charge indicator shows completion. Do not attach a leaking cartridge or use a battery with a damaged enclosure.
Check that your cartridge uses standard 510 threading. Thread it onto the Kodo until it is gently snug. Stop as soon as the connection is secure; overtightening can damage the cartridge base or battery contact.
Controls and basic operation
Press the main button five times rapidly to turn the Kodo Pro on. The screen should activate. Five more clicks turn it off. This lockout is important because the button can otherwise be pressed in a pocket or bag.
Use the adjustment buttons to select voltage. The screen shows the active value and battery information. Start near the low end of the cartridge manufacturer's range. Increase in small steps only if necessary. Higher voltage produces more heat and is not automatically better.
To activate preheat, use the click sequence shown in the supplied manual for your version. Preheat applies power briefly before normal operation and can help when cartridge contents have thickened in cool conditions. Cancel preheat if the cartridge becomes hot or produces an unusual smell.
Choosing a voltage
Cartridge construction and contents vary, so there is no single perfect number. A practical starting range is approximately 2.0–2.6 volts for gentle output, 2.6–3.2 volts for a balanced middle range, and higher settings only when the cartridge maker supports them. Begin low, make one change at a time, and allow the cartridge to cool between tests. The 510 cartridge voltage chart explains these bands in more detail.
If output tastes burnt, the cartridge becomes very hot, or bubbles form aggressively around the intake holes, reduce voltage and stop chain activation. A clogged cartridge is not always solved by more power; controlled preheat and upright storage are safer first steps.
Fixing “No Atomizer”
“No atomizer” means the Kodo cannot detect the electrical connection. Turn the battery off and remove the cartridge. Clean the battery thread and cartridge base with a dry cotton swab. Check for leakage, torn seals, or a centre contact that appears pushed in or crooked.
Reconnect the cartridge finger-tight and turn the battery on. If the message remains, test a second known-good standard cartridge. If the second one works, the first cartridge is defective or incompatible. If several known-good cartridges fail, contact support about the battery.
Do not pry the Kodo contact upward with a knife or pin. The contact is insulated from the surrounding thread, and damaging that insulation can create the short the protection circuit is designed to prevent.
Fixing “Shorted”
A shorted message means the measured resistance is outside the safe range. Remove the cartridge immediately. Look for liquid on the contacts and let all surfaces dry. Do not continue pressing the button to see whether the warning clears.
Test the suspect cartridge on another compatible battery only if it is clean, dry, and undamaged. If it triggers protection on multiple batteries, discontinue it. If every cartridge triggers “shorted” only on the Kodo, the Kodo needs service or replacement.
Charging and battery care
Use a clean USB-C cable and an appropriate standard power source. Insert the plug straight and never use the device when the port or cable is damaged. Charge where you can observe the battery, away from heat and flammable material.
For storage, turn the Kodo off, remove the cartridge, and keep both pieces upright in a moderate environment. Do not leave the battery fully depleted for long periods. Wipe the 510 connection regularly so residue does not migrate into the battery.
Quick troubleshooting checklist
If the screen is blank, work through the not-charging checklist with a known-good cable, then try the five-click power sequence. If the screen works but the device does not fire, read the displayed message, confirm voltage, and test the connection. Persistent light patterns are decoded in the blink-code guide. If the battery becomes hot, the port loosens, or the enclosure is damaged, stop troubleshooting and seek a warranty assessment if eligible, or replace the unit.
The Kodo Pro is easiest to diagnose by separating battery, connection, and cartridge. Change only one part at a time and the failed component usually becomes obvious.
Official references
Common questions
How do I turn on the Yocan Kodo Pro?
Press the main button five times rapidly. Repeat five clicks to turn it off before carrying or storing it.
How do I change voltage on the Kodo Pro?
Use the adjustment controls to select the voltage shown on the screen. Begin low and follow the cartridge manufacturer's recommended range.
What does no atomizer mean on a Kodo Pro?
The battery cannot detect a usable cartridge connection. Clean both threaded contacts, reconnect without overtightening, and test a known-good standard 510 cartridge.
Can I use the Kodo Pro while it charges?
Follow the current Yocan manual for charging behaviour. For the safest routine, disconnect charging before use and do not leave the battery charging unattended.